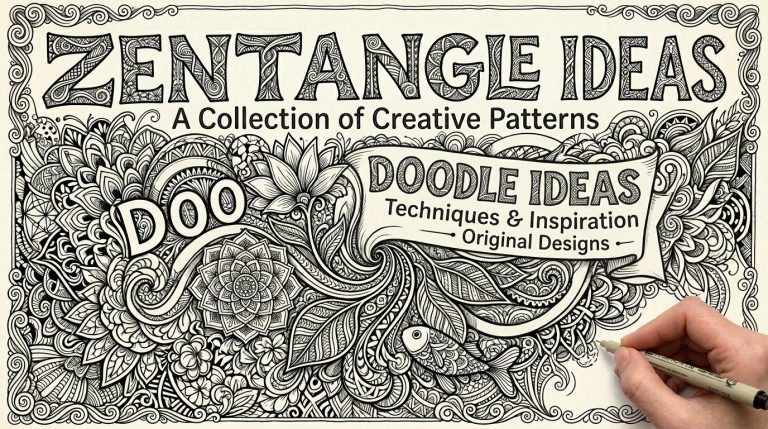
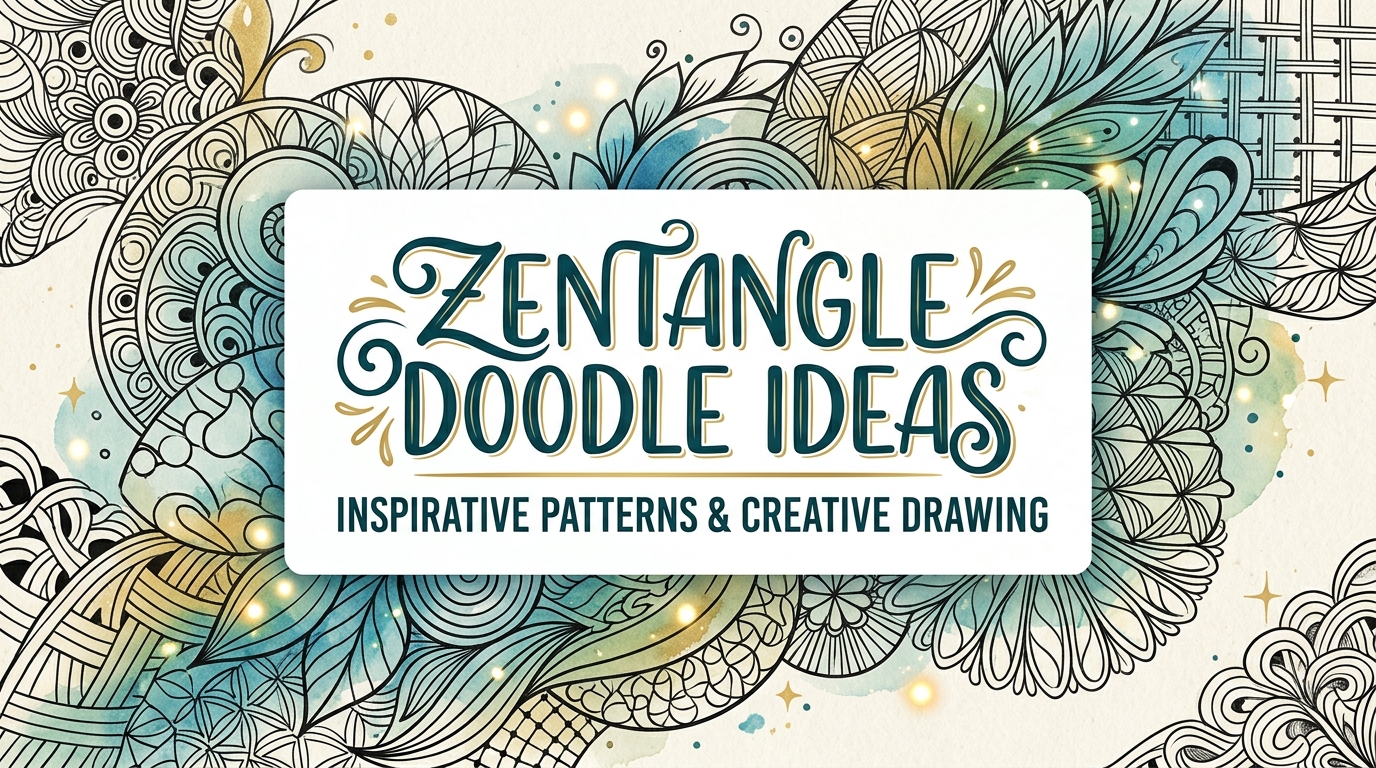
Zentangle doodle ideas you will fall in love with!
Seriously, can we take a moment to appreciate how much our world could use more activities that are truly calming, genuinely spark creativity, and are easily accessible to anyone, regardless of their artistic background?
Because Zentangle perfectly fits that description. And honestly, it deserves so much more recognition than it gets.
If this is your first time hearing about it, prepare for Zentangle to become your new favorite way to engage with a pen and a small piece of paper. And if you’re already familiar but thought, “Nah, that’s not really my thing,” I’m here to gently persuade you otherwise.

So What Actually Is Zentangle?
Zentangle is a structured drawing technique developed by Rick Roberts and Maria Thomas back in the early 2000s. The core idea is straightforward: you create repeating, organized patterns (known as “tangles”) within a defined area, working on one small section at a time, without any preconceived notion of the final result.
There’s no preliminary sketching involved, no erasing mistakes, and no planning the outcome before you begin.
The finished piece is always a surprise, completely unique, and almost always stunning in that intricate, organic way that often prompts people to ask, “Wait, you actually drew that?”
However, what truly sets Zentangle apart from casual doodling is its intentionality. There’s a specific method, a kind of ritual, a deliberate approach to the paper that transforms it into something more akin to meditation than traditional art creation. The repetitive act of making marks has a way of quieting the mind’s constant chatter, an effect that’s truly hard to grasp until you’ve experienced it yourself.
The Official Method
The traditional Zentangle approach involves a specific sequence that’s good to know, even if you eventually develop your own personal style.
The Materials For official Zentangle, you’ll use small 3.5-inch square pieces of high-quality paper, a fine-tipped black pen (the Sakura Micron is the classic choice), and a pencil for the initial “string.”
The Process Begin by holding your paper tile and taking a deep breath. This might sound a bit cheesy, but it genuinely helps set a focused intention. Next, use your pencil to lightly draw an organic border near the edges and a loose “string”—this is a curved line or a series of lines that divides your tile into various sections. These sections will be the areas you fill.
Then, with your pen, fill each of these sections with a distinct tangle pattern. Work slowly and with purpose. Feel free to rotate your tile as you draw to maintain a comfortable angle; there’s no “right side up” in Zentangle.
Finally, use your pencil to add shading, which gives your patterns dimension and depth. After that, sign and date the back of your tile.
The entire process can take anywhere from fifteen minutes to an hour, depending on how intricate you decide to make it.
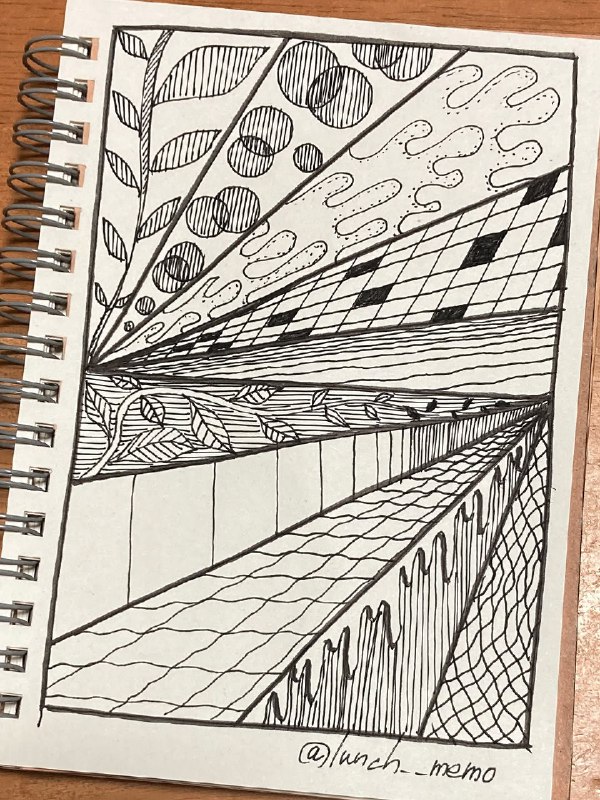
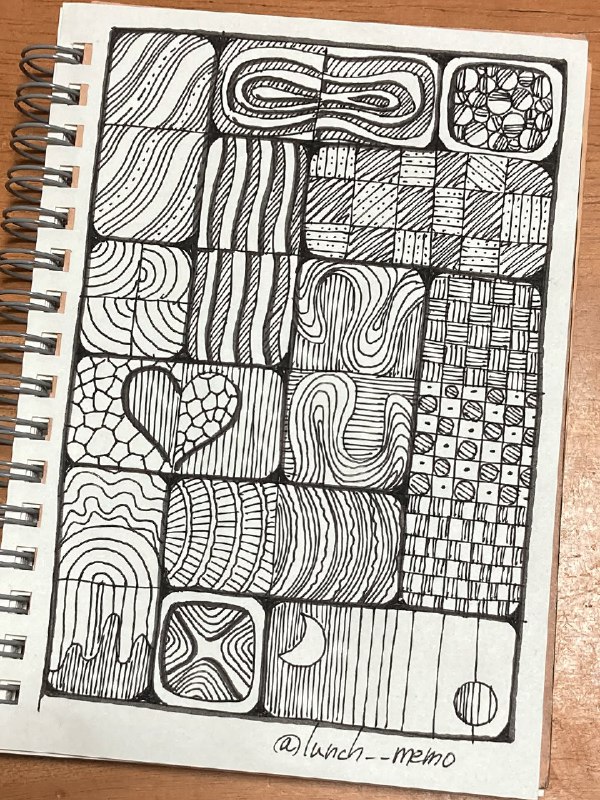
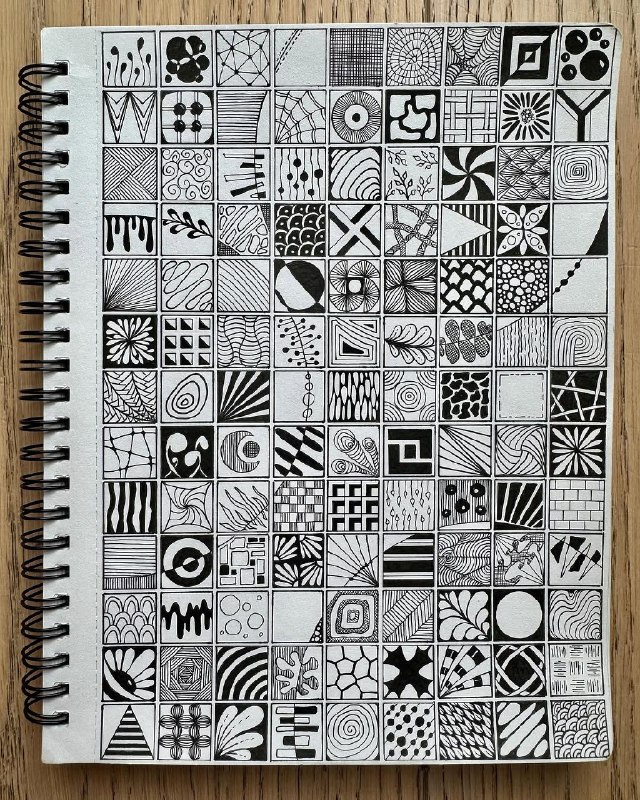
Core Tangle Patterns to Learn First
Here are some fundamental patterns that every Zentangle beginner should try. None of them demand artistic talent—just a bit of patience and a willingness to repeat a simple stroke.
Hollibaugh This pattern involves overlapping straight lines that create a woven, layered appearance. You draw groups of parallel lines that seem to pass behind one another. It’s simple, satisfying, and quickly looks impressive.
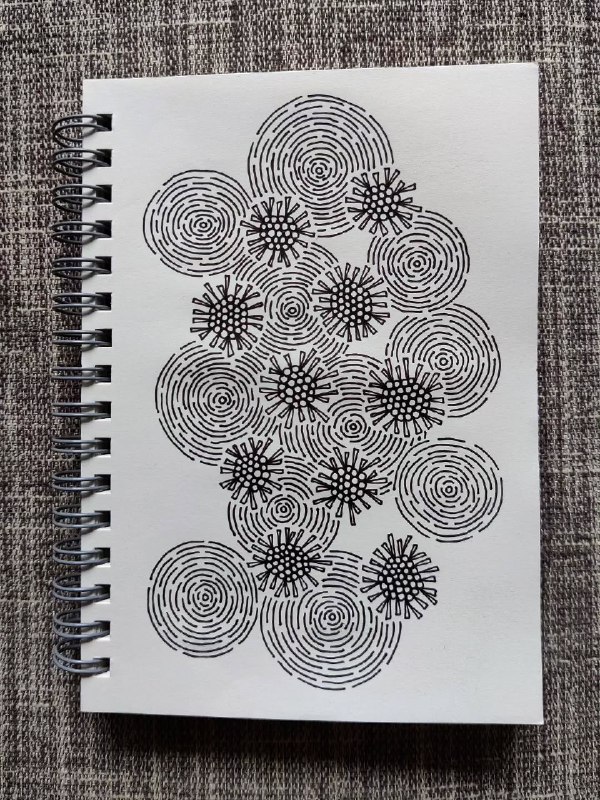
Printemps Simply spirals, packed closely together to fill a space. Start each spiral from its center and expand outwards. Varying their sizes adds an organic touch.
Crescent Moon Curved lines that progressively stack smaller inside each other, forming a crescent or lens shape. It’s very meditative to draw and looks beautiful when clustered.
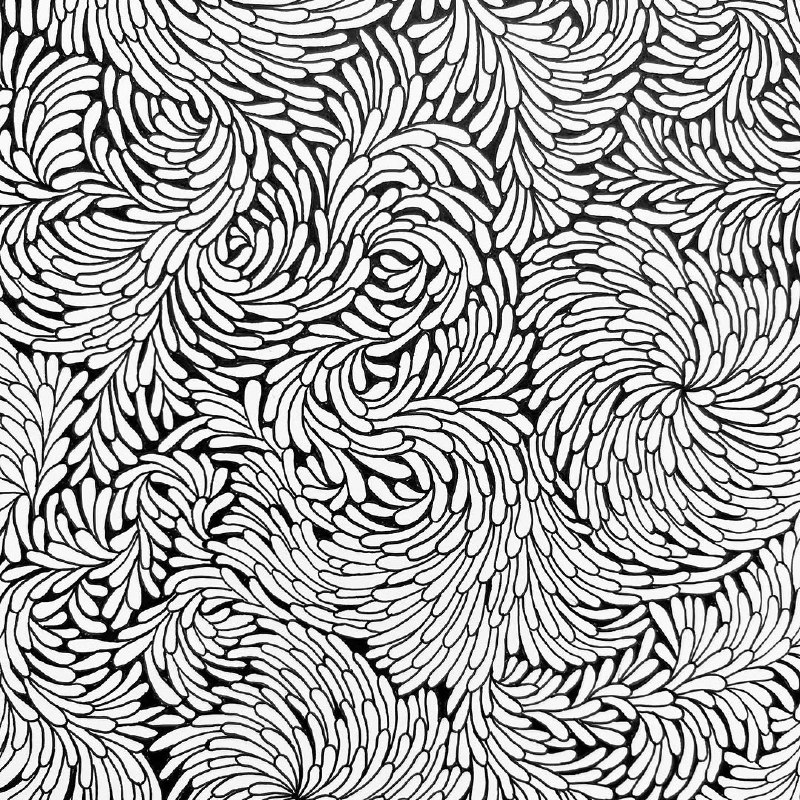
Flux These are leaf or petal-like shapes arranged in a fluid, natural design. It has a botanical, delicate feel and is excellent for filling curved areas.
Jetties Parallel lines intersected by small perpendicular lines at regular intervals, resembling a ladder lying on its side. It’s simple but creates wonderful texture.
Tipple Just circles—various sizes of circles packed tightly together to fill a space. It’s incredibly straightforward and looks like bubbles or cells, very satisfying to create.
Cubine This pattern uses repeating cube shapes to create an optical illusion of three dimensions. It’s a bit more intricate, but the outcome is truly striking.
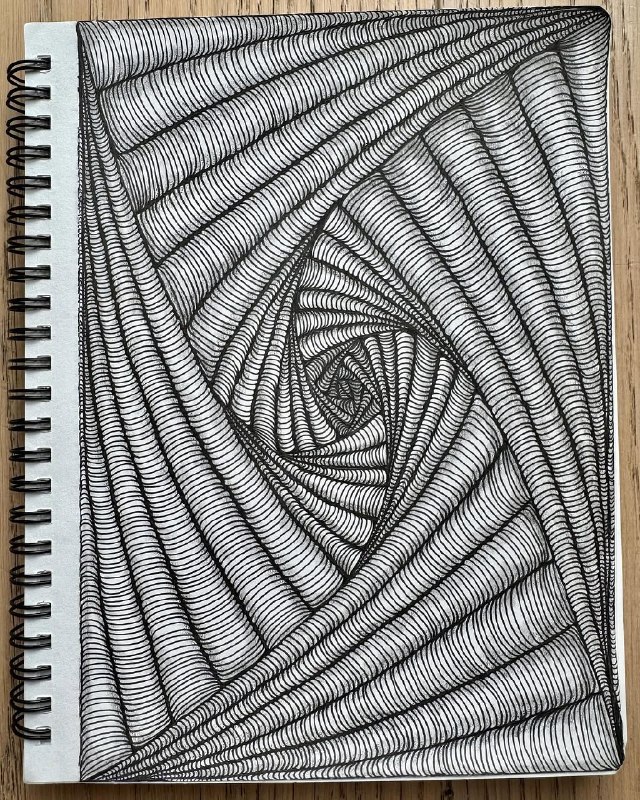
W2 Wavy parallel lines that undulate across a section. The waves can be tight and uniform or loose and free-flowing. It’s a very relaxing pattern to draw.
Knightsbridge A checkerboard design with alternating filled and empty squares. You fill half with black and leave the other half white, then add details to the white squares. It’s graphic and bold.
Aura This isn’t a standalone tangle but a technique: you trace the outline of any existing pattern to create a “halo” effect around it. It adds depth to everything you draw.
Zentangle-Inspired Art (ZIA) and Zendoodles
Once you’ve got the hang of the basic method, Zentangle-Inspired Art (ZIA) and Zendoodles open up a whole universe of creative possibilities. ZIA involves using tangle patterns, but applying them beyond the strict confines of the traditional format.
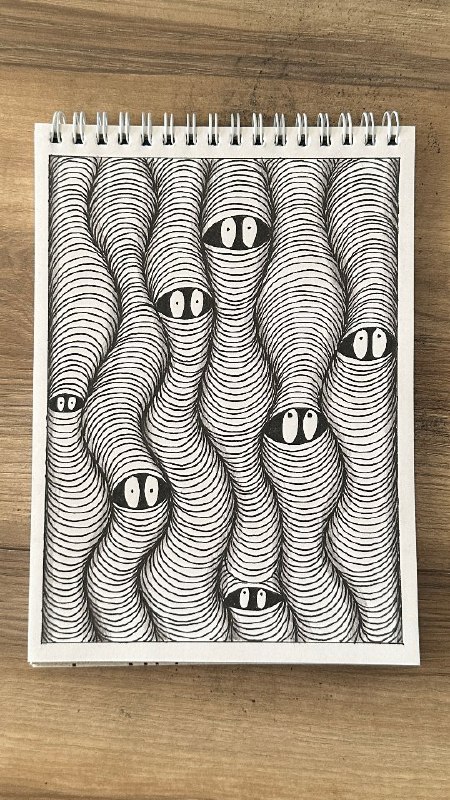
Tangled Portraits Draw a simple face or silhouette and then fill different sections within it with various tangle patterns. The contrast between the recognizable form and the intricate filling is truly captivating.
Tangled Animals Apply the same idea to animals. Imagine a butterfly with each wing section filled with a unique pattern, an elephant whose body parts are all different tangles, or an owl completely filled with overlapping circular designs. The results are absolutely stunning.
Tangled Letters Write your name or a chosen word in large block letters, then fill each letter with a distinct tangle. This is fantastic for personalized gifts or unique wall art.
Tangled Mandalas Combine Zentangle patterns with the structure of a mandala. Draw a circular mandala framework and then fill each segment with tangles. The blend of symmetry and intricate patterns is truly next-level.
Tangled Landscapes Sketch a simple landscape outline—hills, trees, a horizon—and then fill each section with different patterns to suggest texture and depth. Picture a sky filled with W2 waves, hills with Flux, and the foreground with Tipple.
Tangled Botanicals Draw leaves, flowers, or branches and fill them with patterns. Each petal gets its own tangle, and each leaf section receives a different texture. These look absolutely gorgeous when framed.
Tangled Geometric Shapes Hexagons, triangles, diamonds, pentagons—fill these geometric frameworks with tangle patterns for a modern, graphic aesthetic that makes for beautiful wall art.
Tangled Maps Outline a map (whether real or imagined) and fill different regions with distinct tangle patterns. Each country or territory gets its own unique texture. This is incredibly time-consuming but immensely satisfying.
Color in Zentangle
While traditional Zentangle strictly uses black ink on white paper, the broader Zentangle-Inspired Art community has enthusiastically embraced color in some truly beautiful ways.
Watercolor Background First Apply a loose watercolor wash, allow it to dry completely, and then draw your tangle patterns on top with black ink. The interplay between the soft color and the precise lines is stunning.
Colored Pencil Shading Instead of using graphite for shading, try colored pencils to add dimension. You can choose analogous colors for subtle depth or complementary colors for a bold, striking contrast.
White Ink on Dark Paper Create tangle patterns using a white gel pen or white ink on black or other dark-colored paper. This completely transforms the mood, giving the piece a much more dramatic and sophisticated feel.
Gold and Metallic Accents Incorporate gold or silver gel pen details over your finished black ink tangles. Even a few metallic lines can elevate the entire artwork.
Tombow or Brush Pen Color Fills Fill sections with alcohol markers or brush pens before adding your tangle details on top. This technique creates effects reminiscent of stained glass.
Pastel Chalk Backgrounds Blend soft pastels across your page, set them with hairspray, and then draw your tangles on top. The result is dreamy, soft, and truly beautiful.video credit by doodillusion on Instagram
Zentangle for Different Moods and Intentions
One of the often-overlooked aspects of Zentangle is how different pattern choices and approaches can cater to various emotional states.
When You’re Anxious Opt for very repetitive, simple patterns like Tipple or W2. The consistent, predictable motion of making marks is genuinely soothing. Don’t worry about the overall composition—just focus on repeating the stroke.
When You Need Focus Choose more intricate patterns that demand your attention, such as Cubine or complex geometric tangles. This mental engagement helps to push out distracting thoughts.
When You’re Processing Something Work intuitively without any prior planning. Let the “string” divide the page however it naturally falls, select patterns based on how they feel, and allow your subconscious to guide the process. This often leads to your most interesting pieces.
When You Want a Creative Challenge Introduce some limitations. For example, only use three specific patterns, or only use curved lines, or try to complete a tile in under fifteen minutes. Constraints can surprisingly spark incredible creativity.
When You Just Need to Decompress Put on a podcast or some music, brew a cup of tea, and draw slowly with no specific goal in mind. It’s about pure enjoyment, with no pressure for a particular outcome.
Journal and Planner Integration
Zentangle doesn’t have to be confined to small tiles. Incorporating tangle patterns into your existing journals and planners can add incredible visual richness.
Border Decoration Frame your journal entries or planner pages with borders made from tangle patterns. Even a simple repeated pattern along one edge can completely transform a plain page.
Divider Pages Create entire pages filled with tangles to serve as dividers between sections of your journal or planner. This provides visual breathing room that is also aesthetically pleasing.
Headers and Titles Fill block letter headers with tangle patterns. Suddenly, your journal sections and planner months will look incredibly deliberate and artistic.
Background Texture Draw a light tangle pattern across an entire page to create a subtle background texture, then write or layer other elements on top.
Doodle Margins Fill the margins of your journal entries with small tangle patterns while you’re contemplating or between writing sessions. The edges of a well-used journal can become their own unique artwork.
Cover Decoration Fill the entire cover of your journal with tangle patterns. This is one of the most rewarding projects, resulting in a truly one-of-a-kind journal.

Materials Worth Knowing About
You truly don’t need much to begin your Zentangle journey. However, if you’re keen to explore further, here’s some information about useful materials.
Pens Sakura Micron fineliner pens are the traditional choice. They come in various nib sizes, with 01 and 05 being the most versatile. Staedtler Pigment Liners offer an excellent, more affordable alternative. It’s best to avoid ballpoint pens, as their line quality isn’t quite the same.
Paper While the official Zentangle tiles are lovely, they aren’t strictly necessary. Any smooth, thick white paper will work well. Hot press watercolor paper is a fantastic option if you plan to incorporate color. Sketchbooks with substantial pages are perfect for ZIA projects.
Pencils A soft pencil (like a 2B or 4B) is ideal for drawing your initial “strings” and for shading. Harder pencils won’t blend as smoothly.
Blending Stumps These tools are used for smoothing pencil shading and make a significant difference in achieving a polished look for your finished pieces.
Colored Supplies Watercolors, colored pencils, Tombow dual brush pens, and gel pens (especially white and gold) are all worthwhile additions if you’re interested in experimenting with color.
Starting Right Now
Here’s what I love most about Zentangle: the barrier to entry is genuinely almost nonexistent. All you really need is a pen, a piece of paper, and about fifteen minutes of your time.
If you’ve been telling yourself that you’re not a creative person, Zentangle is here to respectfully challenge that notion. Creativity isn’t solely about innate talent; it’s about showing up, making marks, and being open to what unfolds.
So, grab a pen. Draw a square. Divide it into sections. Fill one section with circles. Then, just see what happens next.