
Pipe Cleaner Pine Cones
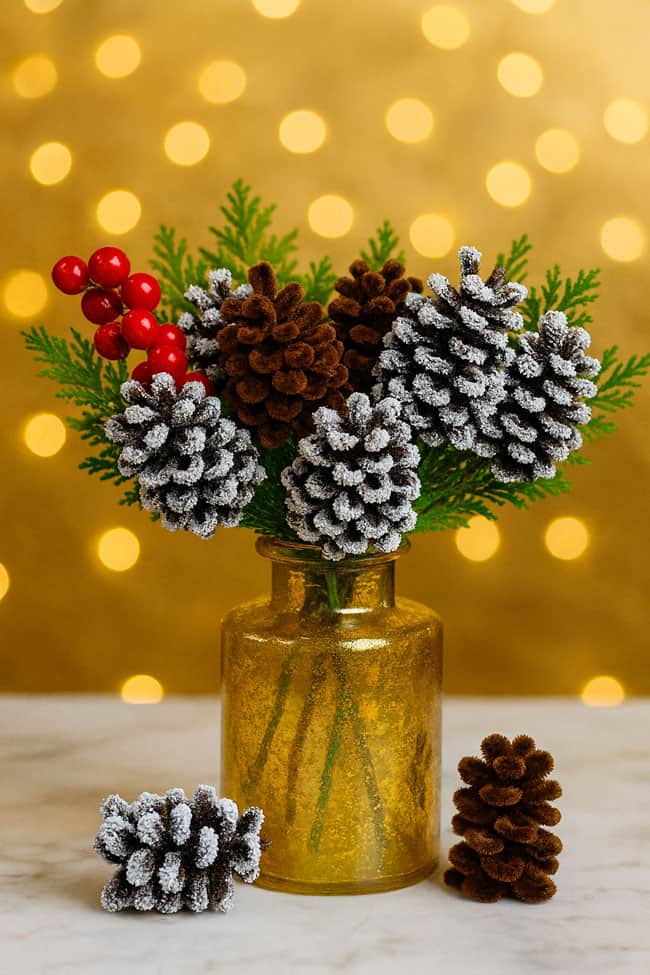
Get ready to twist up a little holiday magic with these pipe cleaner pine cones! This charming Christmas craft is so simple, yet so satisfying. Just twist, bend, and shape your way to adorable pine cones that look perfectly at home on the tree or the mantel.
Whether you make frosted pine cones for a snowy look or keep them classic and rustic, this pipe cleaner craft is endlessly versatile. Hang them as ornaments, pop them on sticks for vase decor, or scatter them around for a cozy woodland vibe. They’re festive, fuzzy, and totally fun to make for both kids and adults!
This post contains affiliate links. If you use these links to buy something, we may earn a small commission at no extra cost to you. This helps support our website and allows us to keep creating fun, free content.
How to Make Pipe Cleaner Pine Cones
Have fun making this super unique pipe cleaner craft that doubles as DIY decor for fall, winter, or Christmas. These pipe cleaner pine cones are really fun to make, and there are so many creative ways to use them!
Author:
Debbie Chapman
Materials:
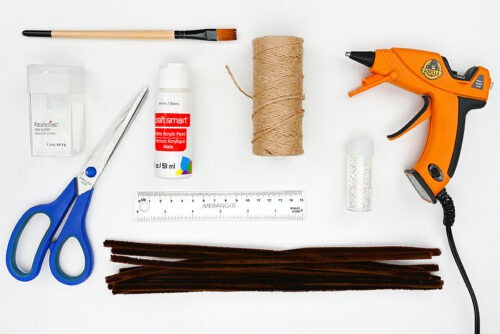
- Brown pipe cleaners
- Twine
- White acrylic paint
- Iridescent glitter
Equipment:
- Glue gun
- Ruler
- Scissors
Looking for more pipe cleaner crafts? Here’s a few of our favourites:
Pipe Cleaner Christmas Tree
Beaded Pipe Cleaner Snowflakes
Pipe Cleaner Poinsettia Ornament
Instructions:
Step 1: Find what you need
- Gather your supplies and materials.

Step 2: Create the pine cone base
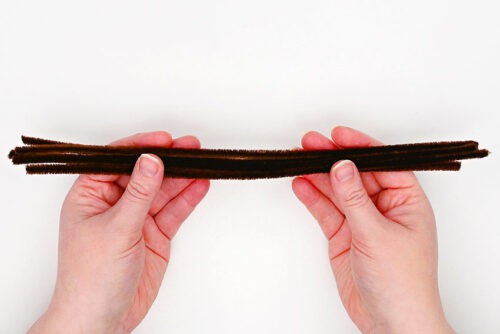
- Grab 5 brown pipe cleaners to create your pine cone base.
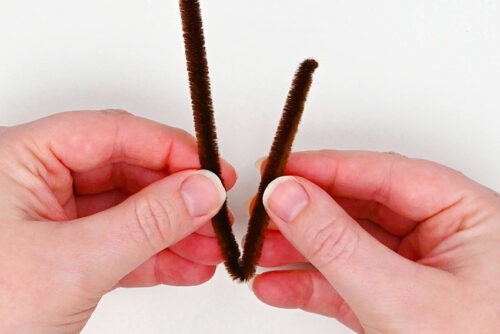
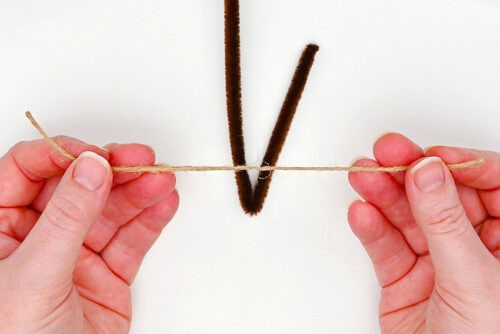
- Begin by folding 1 pipe cleaner so the short end is as tall as you’d like your pinecone to be.
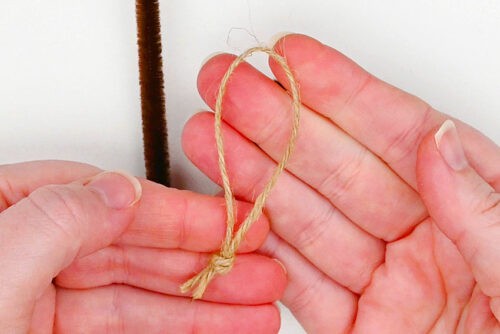
- If you’d like to make your pinecone into an ornament, cut a piece of twine about 8 inches long.
- Tie the twine into an ornament hanger.
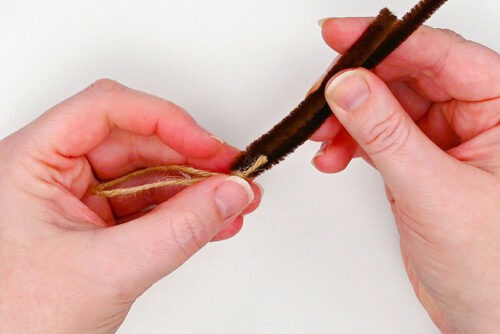
- Use hot glue to attach the hanger to the fold of the pipe cleaner.
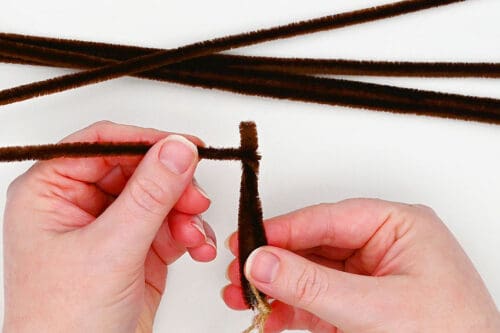
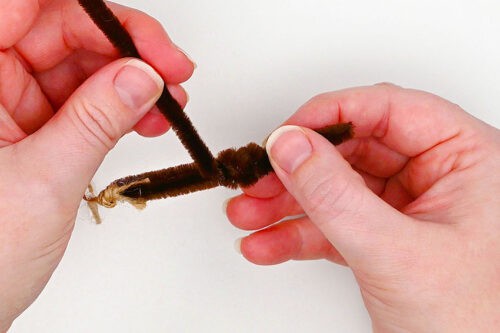
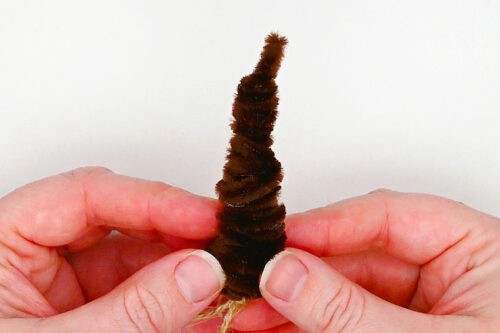
- Begin wrapping the long part of the pipe cleaner around the shorter section, leaving about 1/4 inch unwrapped at the top. Don’t wrap too tightly.

- Continue wrapping and secure the end with a dot of hot glue before connecting a second pipe cleaner.
- Wrap this pipe cleaner around and repeat with the rest of the pipe cleaners. Concentrate the wraps at the bottom, so that the base is wider than the top.
Step 3: Make the “petals”
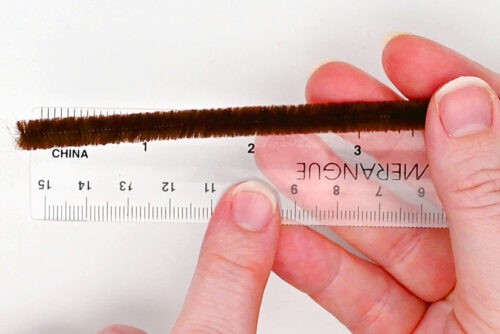
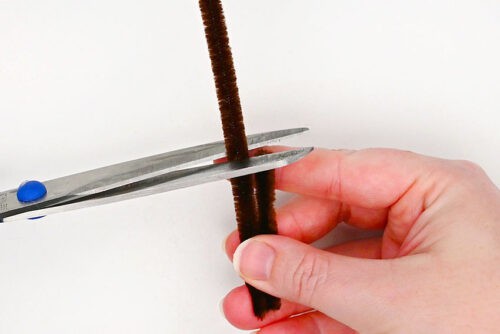
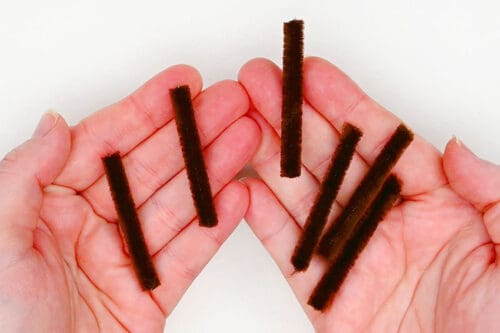
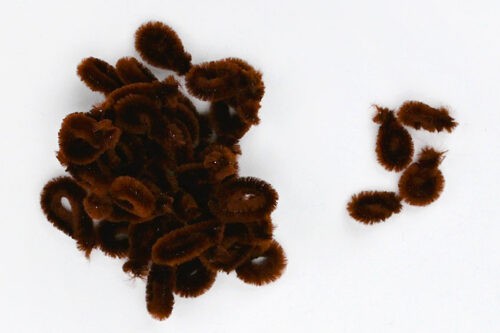
- Cut a 2 inch piece off a 12 inch brown pipe cleaner.
- Then use this piece to cut another section the same size.
- Repeat until you’ve cut up the pipe cleaner into 6 sections, each 2 inches long.
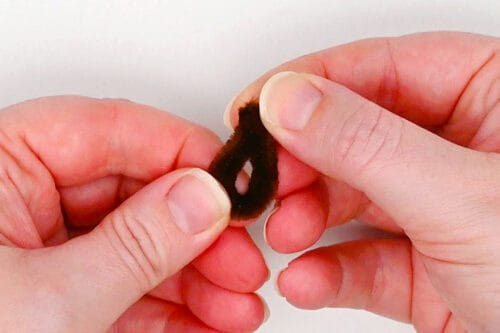
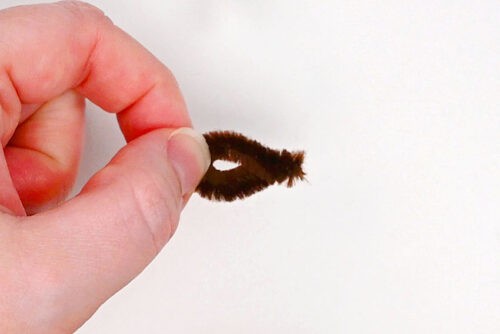
- Pick up one of the 2 inch sections. Fold one edge over the other, keeping the center part rounded.
- Twist the ends together a couple times, creating one of the pine cone petals.
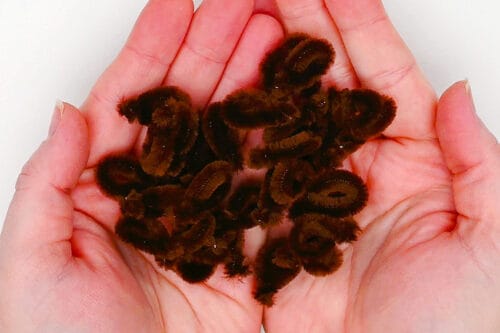
- Repeat with the rest of the pieces, and then make petals from another 7 pipe cleaners.
- Then cut 4 shorter pieces (about 1-1/2 inches long) and use the same technique to make petals from these.
Step 4: Add the petals to the base
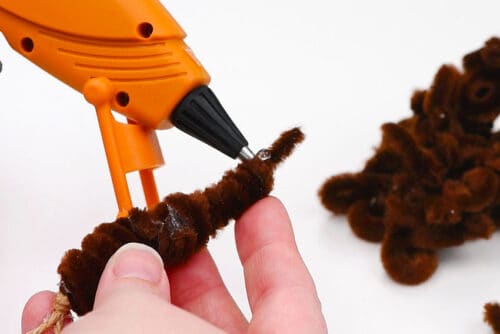
- Add a dot of hot glue to the top of the pine cone, just below the center stem.
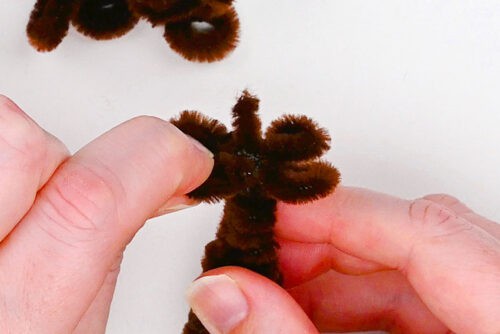
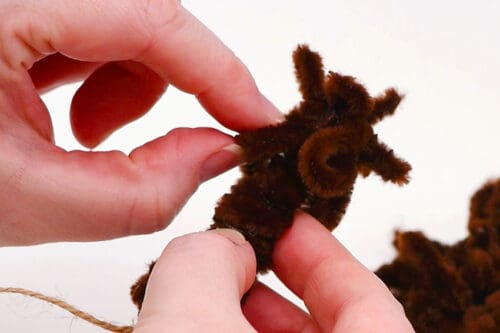
- Place one of the smaller petals into the glue, so it’s sticking up. Repeat with the other 3 small petals, placing them so they’re evenly spaced (at north, east, south, west positions).
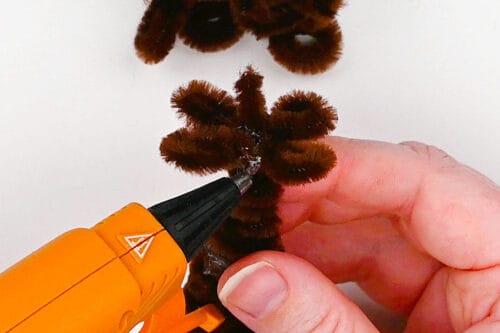
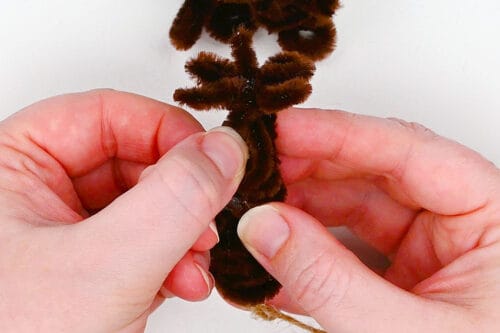
- Now we’re going to add the rest of the petals. Begin by adding a dot of glue right between 2 of the first ones.
- Place a petal into the glue with the rounded side down.
- Repeat around, pushing the petals as far up as they’ll go, so they’re close to the previous row.
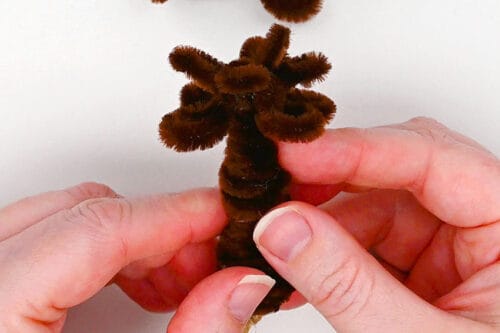
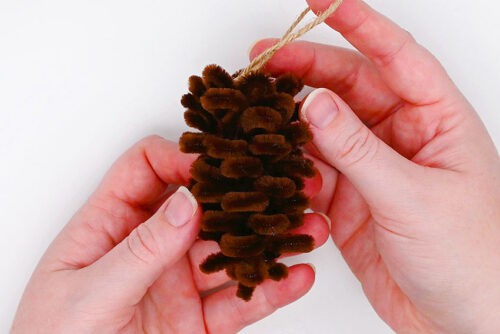
- Starting with the first petal you added in this row, bend the rounded part of the petals up.
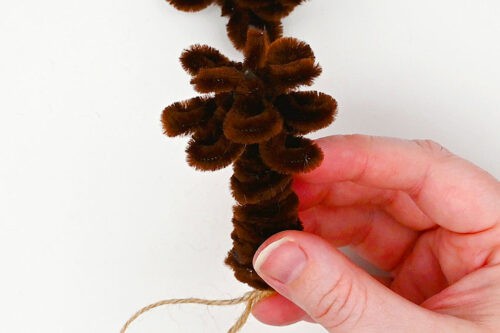
- Now it’s all about repetition. Add petals in-between the petals of the last row, again pushing them as far up as you can. Bend the petals up so they’re pointing outwards.
- Repeat until you reach the bottom of the pine cone. Shape the petals out until you’re happy with the look.
Step 5: “Frost” the pine cone (optional)
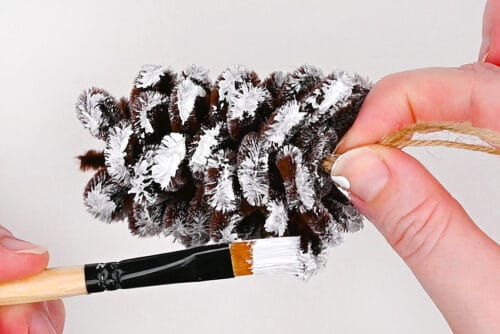
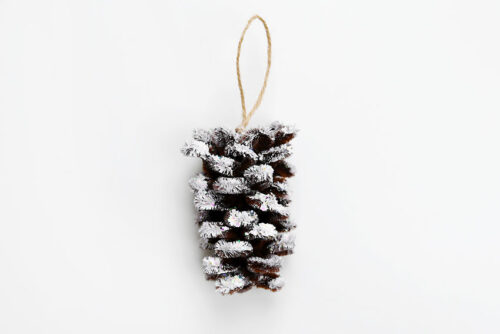
- Add white acrylic paint to the edges of the petals.
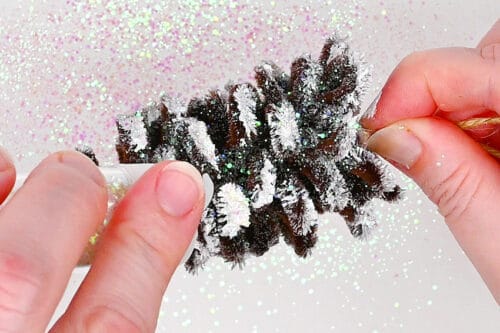
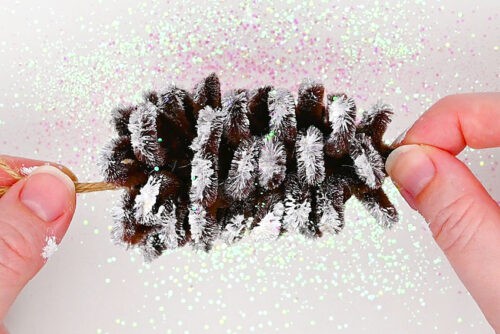
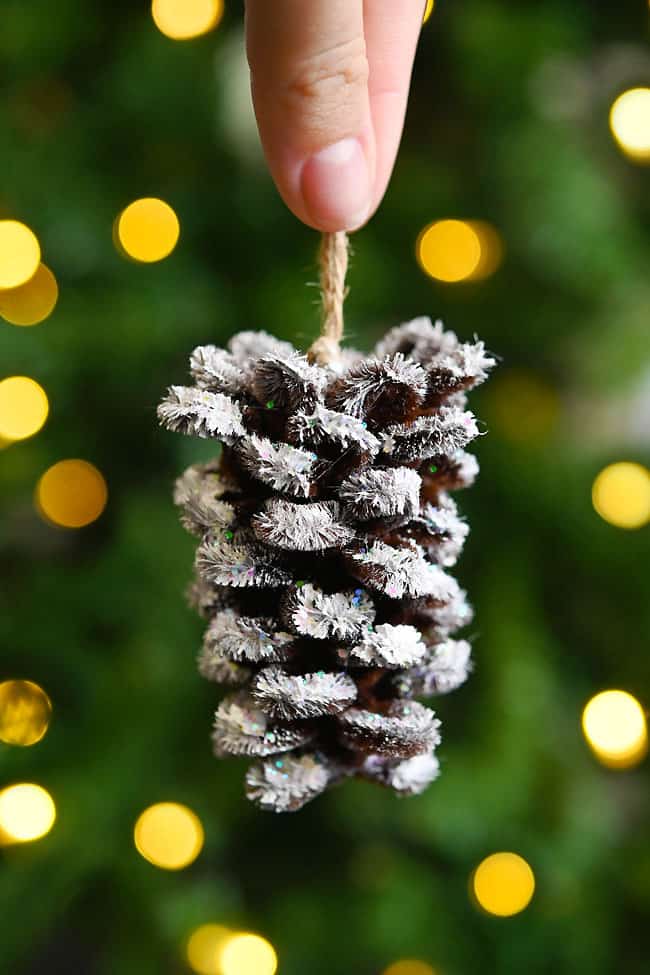
- Then sprinkle white iridescent glitter on top of the paint. Start with a fine glitter and then add a chunkier one.
- Shake off the excess glitter and allow to dry.
- Your pipe cleaner pine cone ornament is complete!
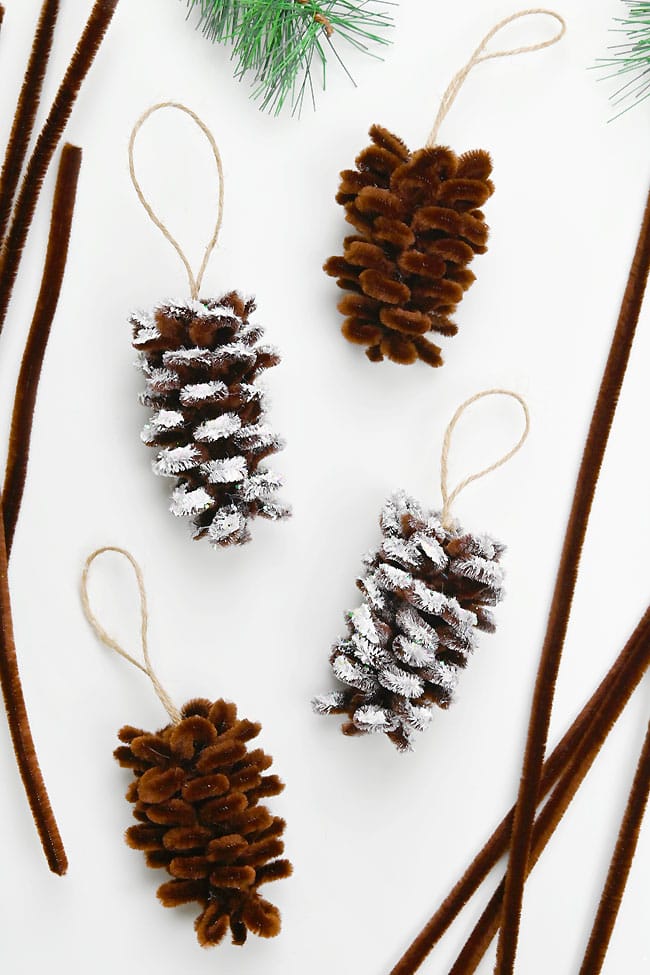
- Have fun making a whole set of DIY ornaments, painting some with “snow” and leaving others natural.Or, keep reading below for how to make different styles of pipe cleaner pine cone decorations!

Helpful Tips:
- Save your good scissors: Scissors from the dollar store or wire cutters work best for trimming pipe cleaners — you don’t want to dull your good crafting ones!
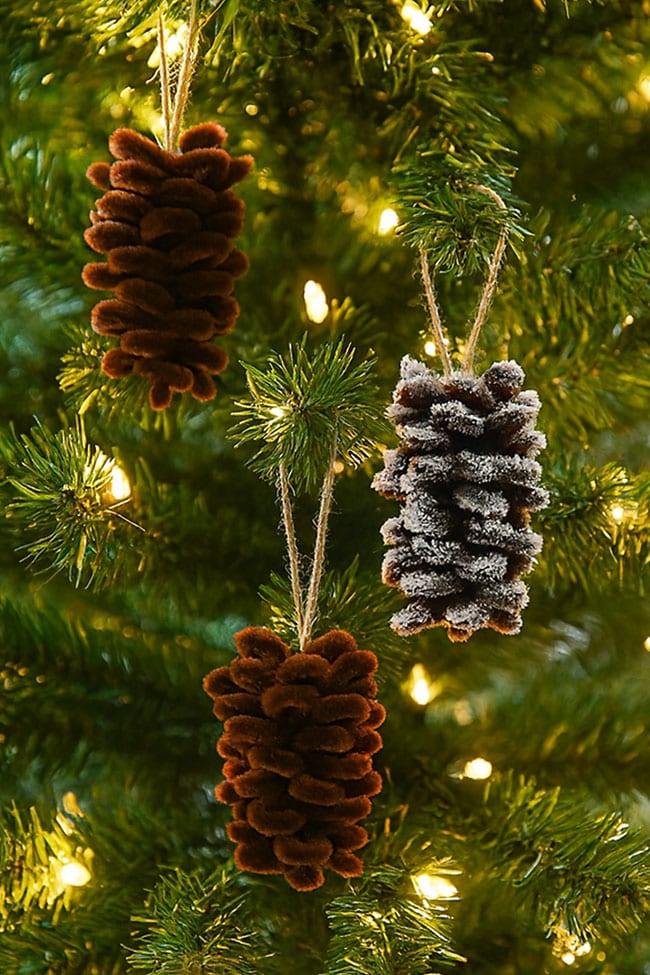
- Switch up the look: Make pine cones in different sizes, with some frosted and others plain. The mix adds a beautiful variety to your holiday display!
How many pipe cleaners do I need to make a pipe cleaner pine cone?
You’ll need about 13 brown pipe cleaners to make a 3-inch pine cone — 5 to wrap around and 8 to make the petals.
Keep a few extras handy, though, since the exact number can vary depending on how tightly you space the petals.
Do I have to ‘frost’ my pipe cleaner pine cone craft?
Not at all! The paint and glitter add a beautiful snowy touch for winter, but they look just as lovely left plain. This means you can use them to decorate for fall, or leave them out year-round for DIY rustic home decor.
How do I make pipe cleaner pinecone vase decor?
To make pine cones on a stick like the ones in our photos, start with a faux flower stem or wooden skewer. Glue one end of a pipe cleaner around the top of the stem and wrap it around until you reach the desired cone height.
Follow the rest of the tutorial above, wrapping pipe cleaners to create your cone shape and adding the petal. Then for a finished look, glue a small piece of pipe cleaner to the top center to cover the flower stem.
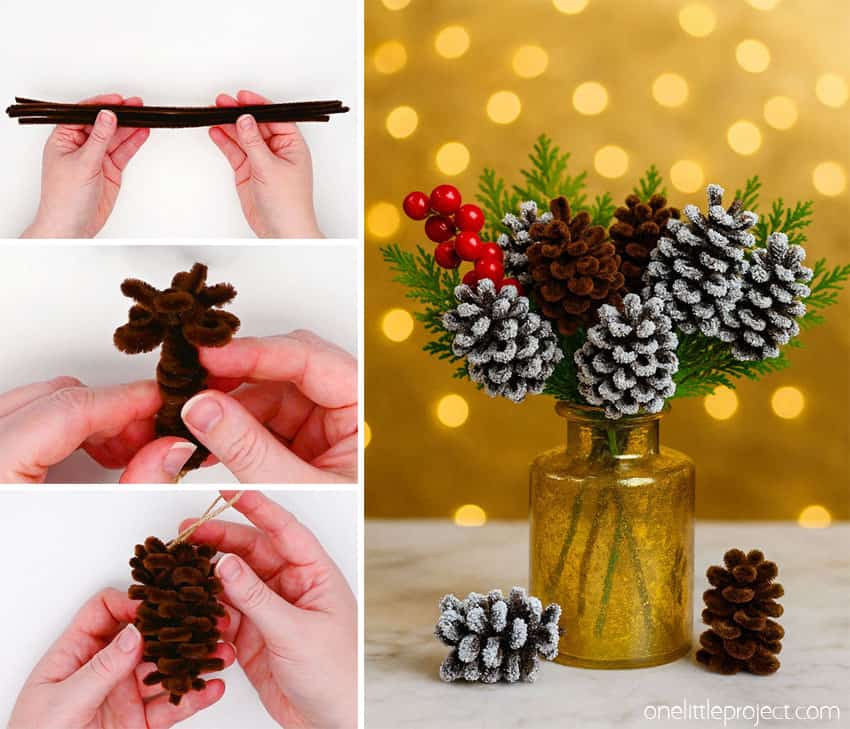
If you love crafts that are simple, affordable, and pretty enough to decorate with, these pipe cleaner pine cones check all the boxes! They’re the perfect Christmas craft to make while sipping cocoa by the tree, or a fun fall activity for a cozy afternoon indoors.
Both kids and adults will enjoy this pipe cleaner craft that’s the perfect mixture of festive and fun. No matter how you style your DIY pinecones they’ll add a delightful handmade touch to your home all season long!
Here’s even more Christmas craft ideas:
Pinecone Gnomes

DIY String Christmas Tree

Wine Cork Reindeer

Now available
Low-Mess Crafts for Kids Book
72 cute and fun crafts that kids and parents alike can enjoy. All with as little mess as possible!
Buy now!
Where to buy:
You can purchase Low-Mess Crafts for Kids from Amazon, or wherever books are sold:
Amazon | Barnes and Noble | Books-A-Million | Indiebound | Amazon Canada